Recipes
American Oreo cake: the delicious cold cheesecake!
Here is the recipe for the Oreo cake: simple, delicious and perfect to bring to the table a dessert that is fresh and at the same time rich in taste.
Today we prepare a fantastic and original cheesecake, the Oreo Dream Pie cake, a dessert that is prepared without cooking and served cold, just like the traditional American cake , but whose taste is enriched by the famous biscuits, which will be used both to make the base , which inside the cake in the filling. Let's start preparing this wonderful cake right away: let's see all the steps for the Oreo cheesecake recipe!
How to make Oreo cake: original recipe
- Let's start with the base: take about 28-30 cookies and divide them from their filling.
- Take the two ends and chop them with a rolling pin or using a simple mixer, then add 3/4 of the "Oreo flour", melted butter and a teaspoon of honey.
- Mix the sandy mixture well and place it in a 20 cm diameter cake pan with a hinge. Mash well and create the base of the Oreo cake that you will have to put in the fridge for at least 30 minutes .
- Now devote yourself to the cream. Whip the cream well with an electric whisk adding the icing sugar (alternatively you can also use a pre-sweetened cream but this is to your taste).
- Gently add the Oreo cream that you had set aside (if you want to make it more fluid you can put it in the microwave for a few seconds ) without removing the cream, then do the same thing with the spreadable cheese.
- Finally, take the remaining whole biscuits and break them coarsely and then combine them and incorporate them into the cream.
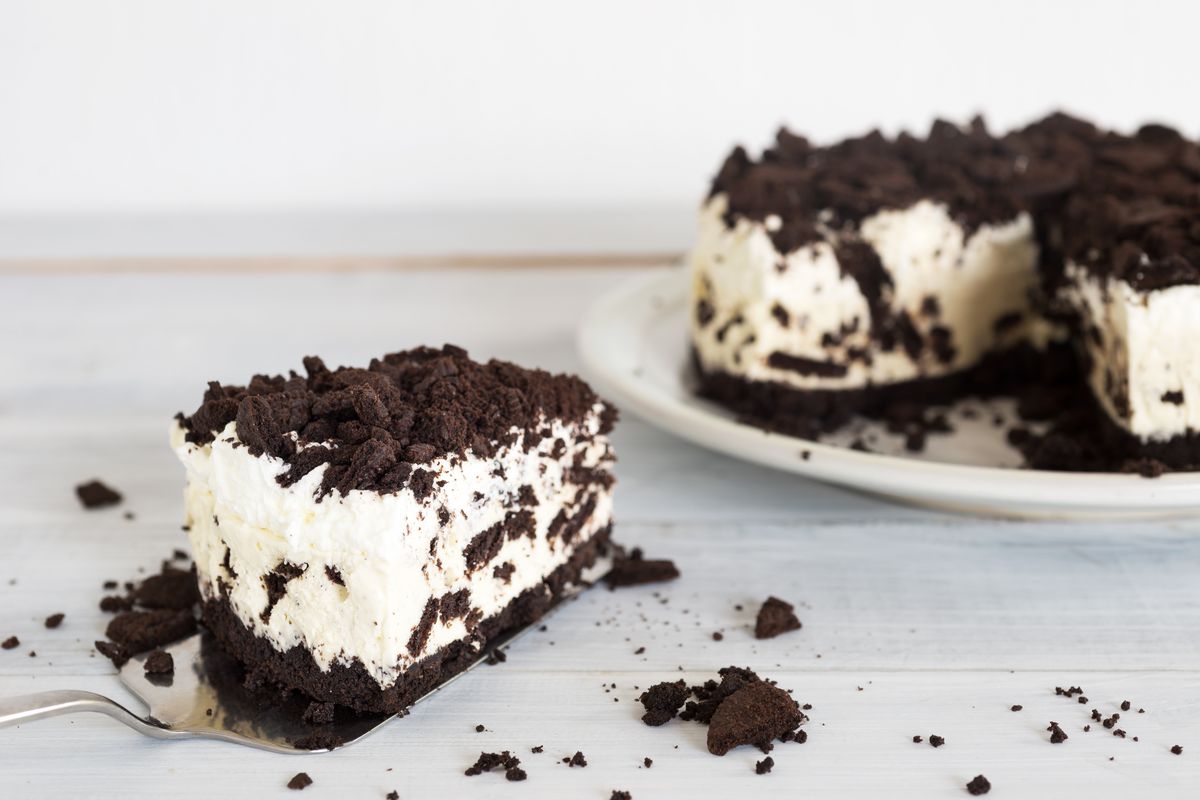
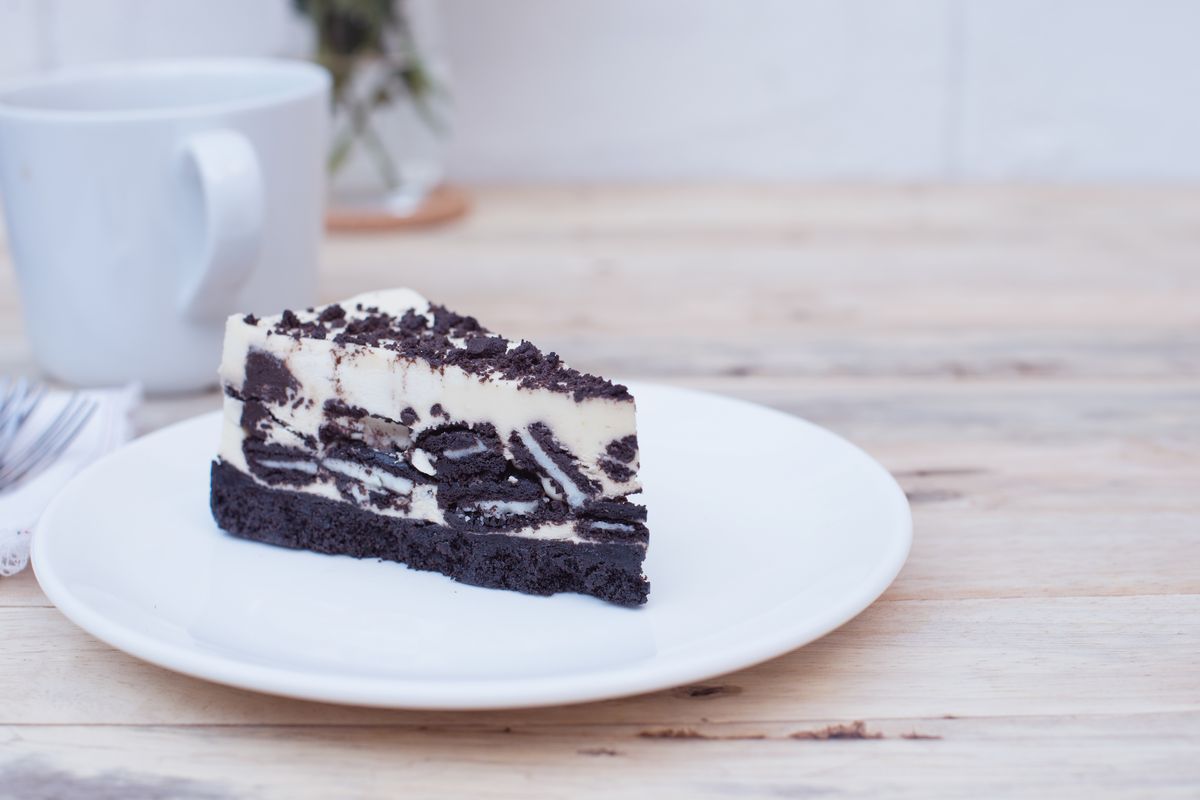
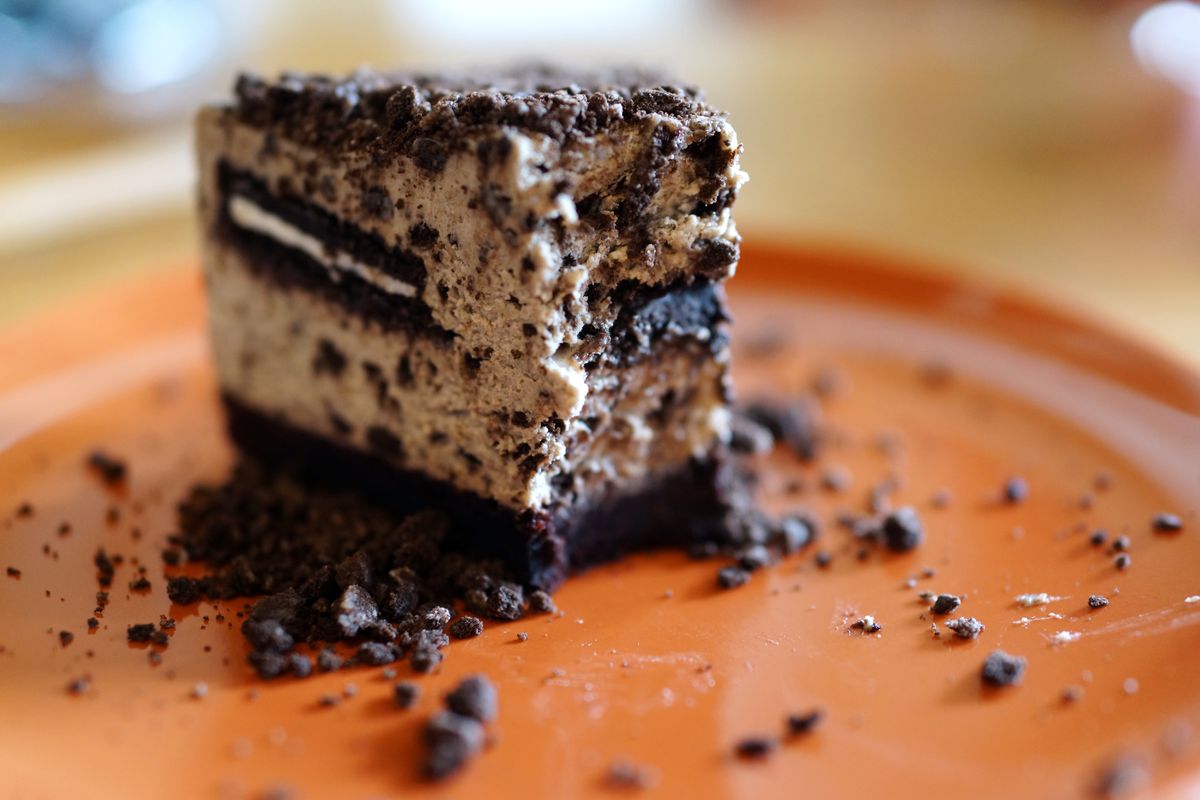
- Now take the base back and spread out all the filling. Finally, decorate with the remaining chopped Oreos on the surface and leave to rest in the fridge for at least 5-6 hours.
- Your cold Oreo cake is ready! Enjoy your meal !
Decorate the cake as you like, if you like you can also keep a few tablespoons of whipped cream aside and use it on top of the simple dessert with Oreos.
Oreo cake: recipe with the Thermomix
The Thermomix Oreo cake is even faster to make. Ready for the recipe?
- Put the biscuits in the jug separating them from the cream , blend them and then combine 3/4 of them with butter and honey to give life to the base. 20 sec. speed 6. Transfer everything to the pan and let it rest in the fridge, putting the Oreo cream aside.
- Put the butterfly in the jug and whip the cream for 2 min. at vel. 3.
- Add the Philadelphia, the Oreo cream and the coarsely broken whole biscuits and let it go to speed. 3 for 1 min.
- Take the base and put the filling on top.
- Complete with the remaining chopped biscuits and put the cake in the refrigerator for a few hours.
Oreo and Nutella cake
Really, the gluttony of this dessert was not enough for you and you want more? Well then maybe you should try the Cheesecake Oreo and Nutella , because it will literally drive you crazy!
- To create this even more lustful version, after creating the base with the biscuits as indicated above, let it solidify in the fridge.
- Use the Nutella in the filling, balancing the doses with the Philadelphia (if you use 200 g of cheese, you can add up to 200 g of Nutella, it depends on your taste!). In this case , you won't need cream!
Alternatively, you can spread the Nutella on the surface and create a double effect also in terms of colors! The result will be amazing, seeing is believing!
Also try the coconut and Nutella cheesecake , a truly irresistible dessert!
storage
The cake should be kept in the fridge for about 3/4 days . Alternatively, place it in the freezer (we recommend that you already cut the slices and store them individually) for a month.
READ ALSO: Pan di Stelle cake: the video recipe of the tastiest cheesecake ever!
Riproduzione riservata © - WT


Why Italian research relies on citizens: Unveiling the funding puzzle
Understanding the complex mosaic of research funding in Italy: How state, enterprises, and citizen contributions shape the scientific landscape. In...


Discover the secrets of blood tests: when, why, and how to get them in Monza
Understanding the optimal timing and comprehensive nature of blood tests: A guide for residents and workers in Monza looking to...


Discover the secret ingredient for healthier hair: why everyone is talking about tea tree oil
The growing popularity of natural solutions for body and hair care highlights the versatility of tea tree oil in enhancing...


Discover the 2026 home design trend that’s redefining comfort and serenity
The shift to a more curated and calming home design that prioritizes human well-being over aesthetics is taking center stage...


The surprising rise of intimate aesthetic medicine: What you need to know about male enhancement trends
The rapid expansion of intimate aesthetic medicine: How innovative treatments are revolutionizing the landscape of contemporary healthcare by focusing on...