Recipes
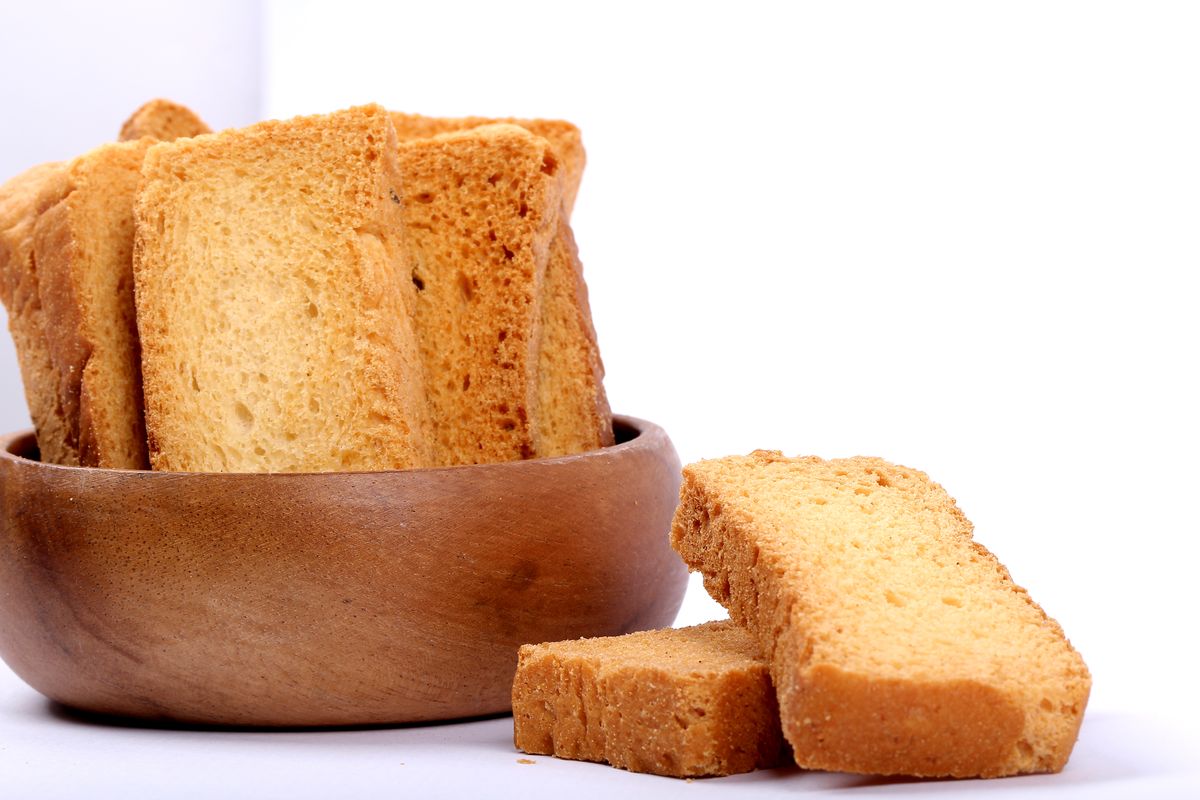
The best homemade gluten-free rusks

Ready and perfect breakfast for everyone with gluten-free rusks: the recipe is the same as the original, you just have to change one ingredient.
Those who are allergic to gluten know well what it means to have to be careful about what they eat. If you are also part of this group and have come to this page, you have done well. Now we are going to reveal an easy recipe for making a respectable gluten-free dessert: delicious homemade rusks for celiacs. If you follow, step by step, the simple gluten-free recipe below, you will obtain crunchy but light biscuits with which you can set the table during your breakfasts .

Preparation of gluten-free rusks for celiacs
The preparation is slightly more complicated than other classic recipes, since you will use gluten-free flour, but if you follow the easy recipe to the letter, step by step, you will get an excellent result.
- Take a bowl and dissolve the yeast in it with a little warm water.
- Add the flour to the bowl with the remaining water and mix with a spoon.
- Add a pinch of salt and a spoonful of oil to the mixture and knead until the dough comes away from the container.
- Close the bowl with cling film and wait about an hour and a half so that the yeast has its effect and the dough has approximately doubled.
- In the meantime, prepare a pastry board by dusting it with gluten-free flour.
- Once the leavening is finished, move the dough onto the pastry board.
- Work it manually in such a way as to form a loaf to be subsequently placed in the special plumcake mold previously prepared with baking paper.
- Brush the upper surface of the loaf with a drizzle of oil.
- Close the mold with cling film and let the loaf rise until it reaches the cling film itself.
- In the meantime, turn on the oven and bring it to 180° C. Cook the loaf at this temperature for 35 minutes .
- Remove the loaf from the oven, remove it from the mold and let it cool for at least 12 hours at room temperature.
- Cut the loaf into thin slices and place them on a baking tray ready to be baked.
- Toast the slices in the oven at 150° C for about 40 minutes, turning them halfway through cooking.
- Take them out, let them cool and enjoy them during your breakfasts.
storage
Conservation is not unique. If the gluten-free biscuits have already been toasted, you can keep them refrigerated for a couple of weeks in a tin. Conversely, if the loaf has not yet been cut and toasted, it can be frozen.
Riproduzione riservata © - WT


